'76 Wagon Rebuild Adventure

Area to show off your Custom Build threads.

Topic author
rherndon
Posts: 142
Joined: Mon Aug 11, 2014 5:25 pm
Location: Houston, TX

'76 Wagon Rebuild Adventure

Post by rherndon »

I started this project 2-3 months ago and thought I would share the progress in pictures (mainly). This is a project to save my '76 wagoneer. I am 2nd owner. Purchased in 2000 and drove daily for 5 years in TX then NJ where I accumulated some rust. I love these vehicles. I always wanted one. But I neglected it. So, I thought about finding one that someone else fixed up. But I thought, what fun would that be? Buy it, drive it, then what? It would probably be a lot cheaper but no satisfaction..... So, I went against all the advice I received from local body shops and mechanics. Screw it, I am doing this.

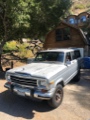
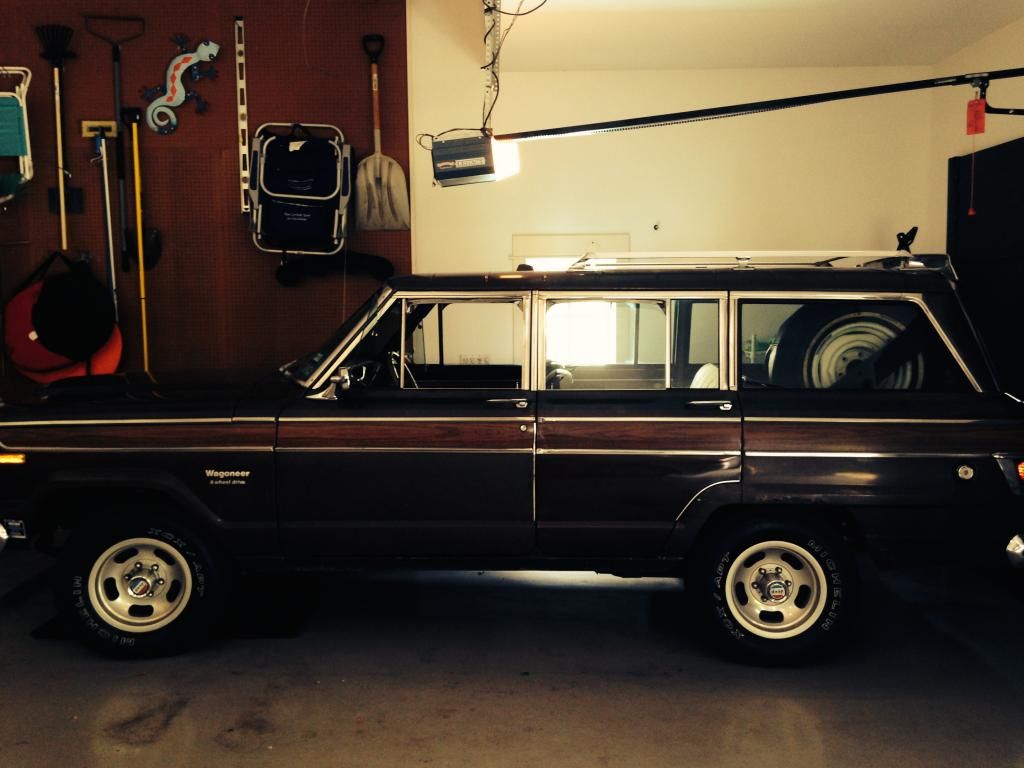
But to put this in proper context, this is a build thread by and for a guy who has NEVER taken apart a vehicle, never done a rebuild or any body work. SO I suspect this will be a thread for a lot of folks on this forum who are observing, like me.

I have set out to do all of the things that I think I can tackle and if I make a mistake, these things can be fixed. I am not going to attempt on this 1st venture to rebuild an engine or swap a quarter panel, or paint the vehicle. I will do the grunt work and leave the fun stuff to the experts, this time.

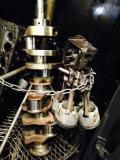
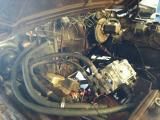
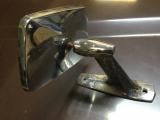
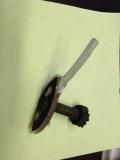
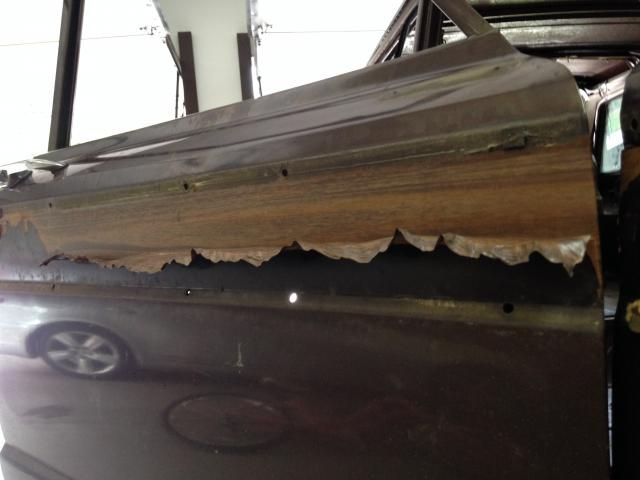
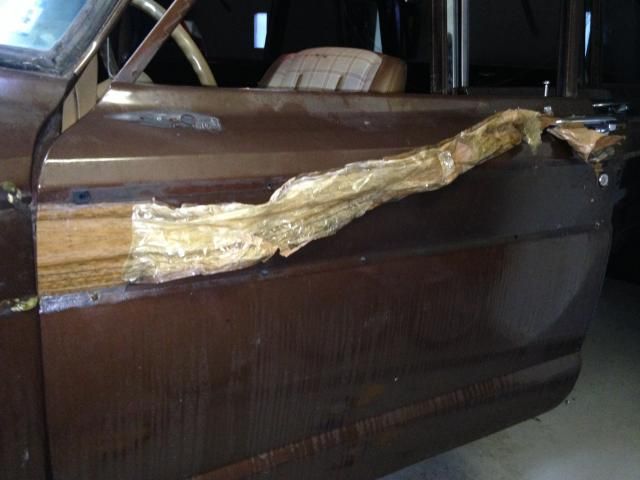
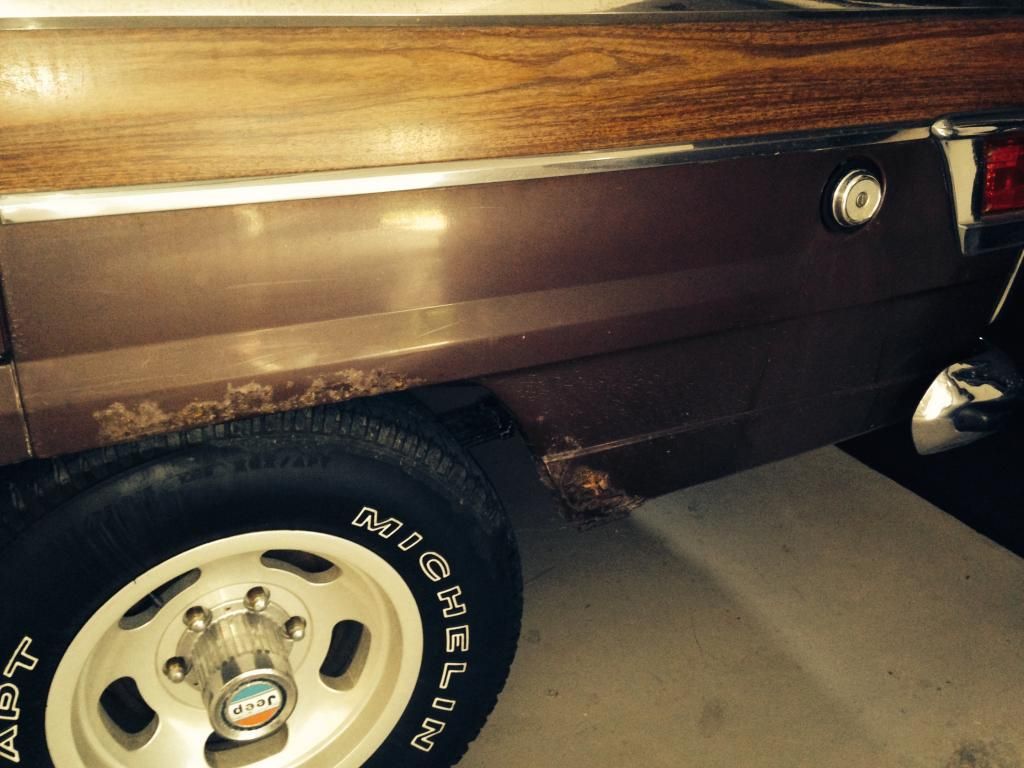
Besides, if I did not do the grunt work, I don't think the project would ever get done. What I mean by that is.....there are by my count over 120 pieces of chrome, trim, assemblies, bolts, fasteners, etc., before you get to the engine, bodywork and paint..... Removing these items is not fun, not glorious. It is a royal PITA. And if you drop a vehicle in this condition off at a body shop, it will sit and sit and sit. Not even the staff wants to do this stuff. And even if they do, the pieces will get broken and lost. It will cost a fortune to strip and it will cost even more to repair and replace the trim.

So this was my going in hypothesis. Thus far I still believe my own BS...

Day One:
Image

Image

Image

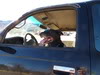
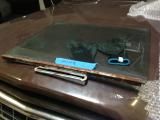
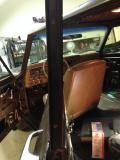
I started by removing headliner and carpet and seats. Wanted to see if there was more rust than just the 2 rear quarters......

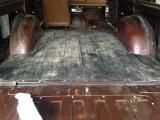
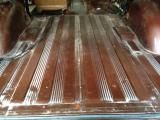
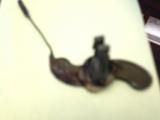
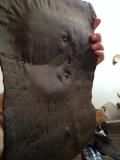
This tar-like board was under the carpet..... Similar to coating above headliner board.... Messy, oily, but still largely intact. I will put down sound barrier of some sort. Probably will go with mass backing too. We will see.
Image

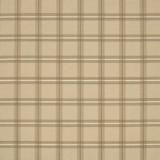
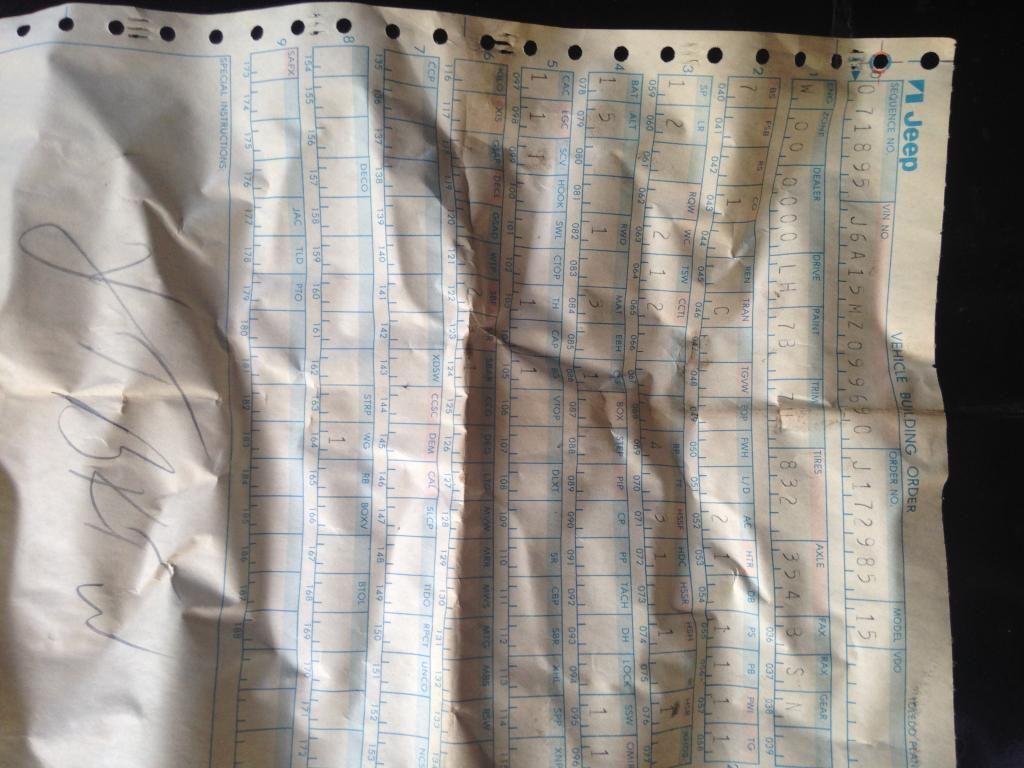
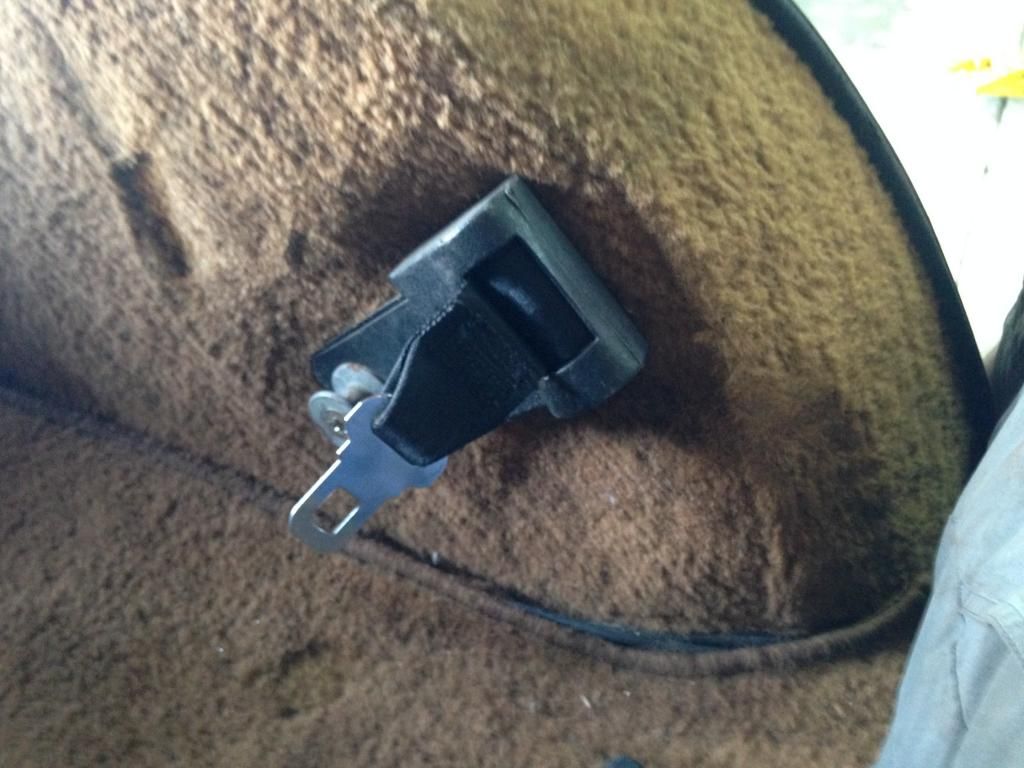
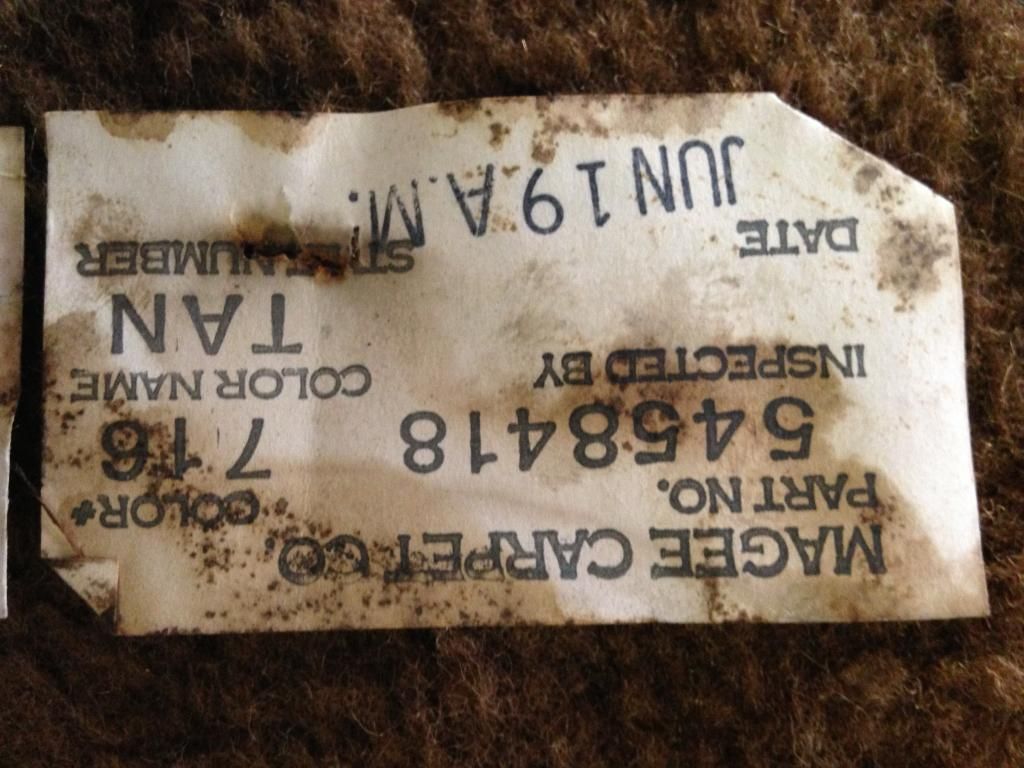
Original carpet tag..... #716, tan? Can't find that color. Closest match seems to be nutmeg. It is a brownish orange. Can't tell precisely what effect the ~ 40 years of grime had on the coloring. It will be close and I think will look good! Oh, I am going back with as much as the original look as I can. Not trying to be exact, just makes life easy. Fewer decisions. Jeep/AMC gods made it that way, so must be good enough for me!
Image

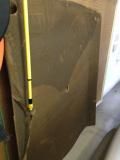
Headliner board. All in all, not bad. I can replace the headliner. Already matched with FBH-7 (Ginger) Foam backed perf vinyl....
Image

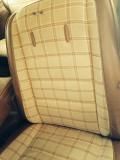
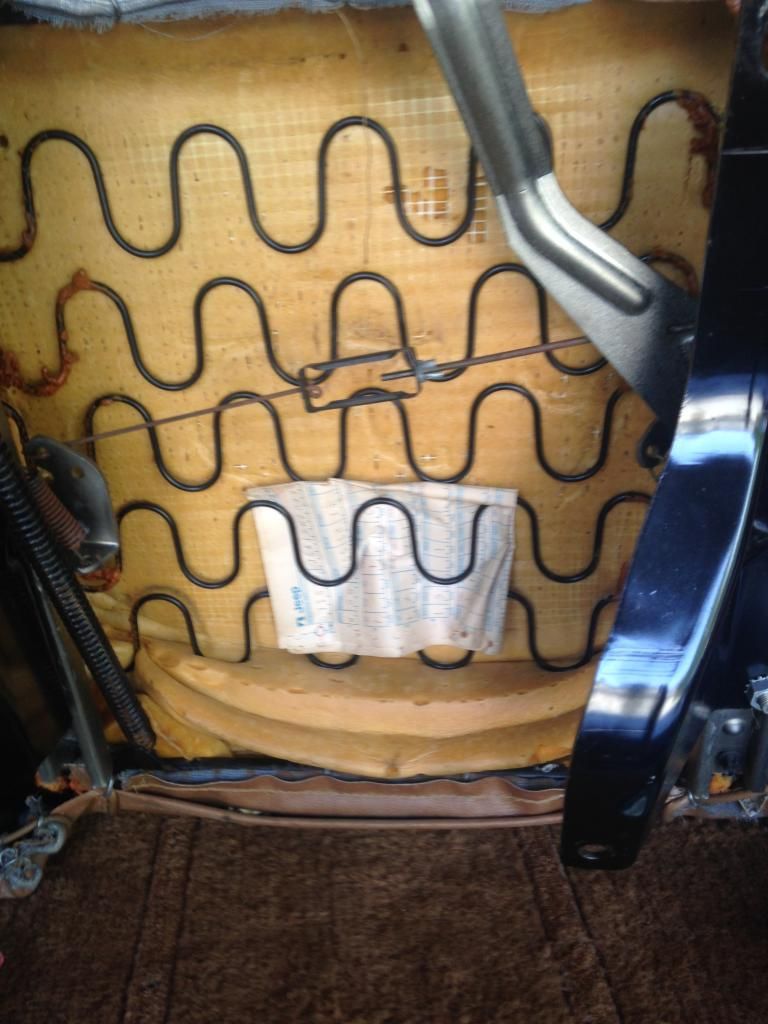
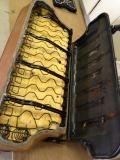
Rear seat. Some light rust in the bottom of base. Easy enough to clean up. I can do that....
Image

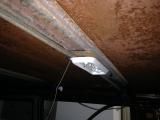
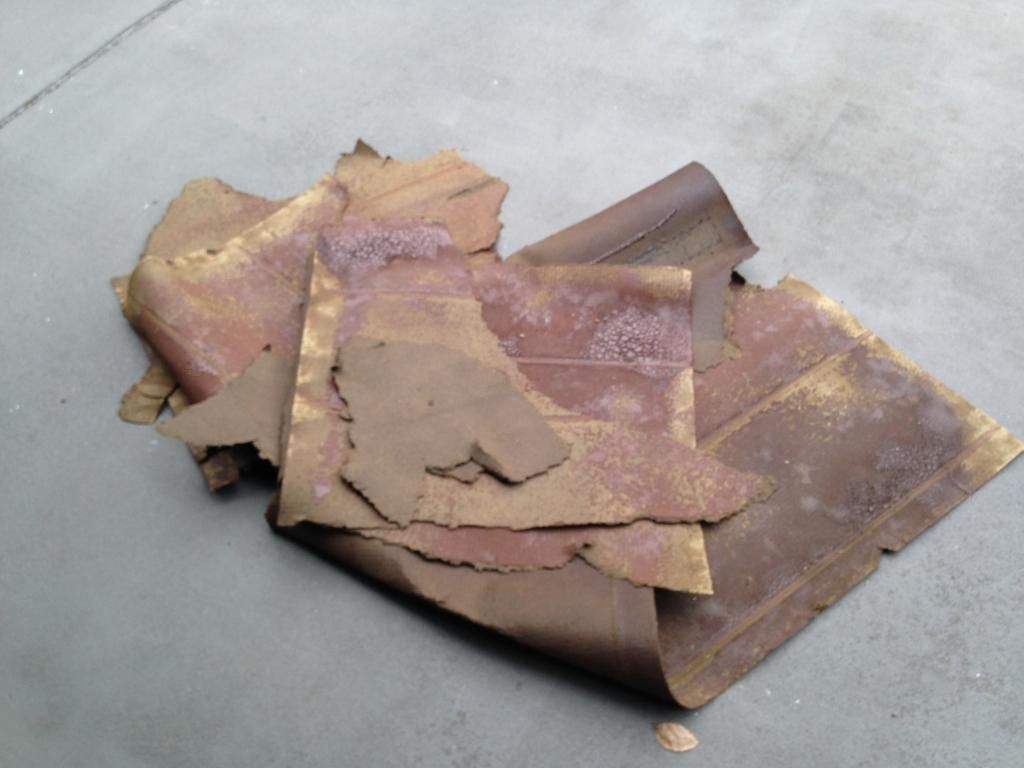
This was the liner between the headliner board and the roof. Am oily texture.... left an adhesive or light surface rust on the inside of the roof. Must have kept some moisture in....Nothing bad though....
Image

Fun is just starting. Lots more..... lots of pics.

Enjoy,
Rogers in Texas


'76 Wagoneer w/401; Restoration in progress

Topic author
rherndon
Posts: 142
Joined: Mon Aug 11, 2014 5:25 pm
Location: Houston, TX

Re: '76 Wagon Rebuild Adventure

Post by rherndon »

The seats are in ok condition but I plan to have them recovered. They came with the tan Potomac stripe fabric. I cannot find this anywhere so I am looking at alternatives. Right now I plan to go with a Sunbrella fabric (Holmes Latte). It is reasonably affordable @ ~ $25 per yard.

Original seat fabric - Potomac stripe....
Image

The Sunbrella Latte fabric - looks close enough to me....and kid friendly.
Image

Look what I found when I removed the driver seat......Original build sheet.
Image
Image

This vehicle was garaged for years in Idaho. I bought it from the original owner's son upon his inheritance. It had a few neat add-ons from the dealer including:
AC, brush guard with KC lights, second gas tank, inside/rear spare tire mount, and the 401.
'76 Wagoneer w/401; Restoration in progress
User avatar

Lumpskie
Posts: 1320
Joined: Wed May 14, 2014 4:33 pm
Location: New Hampshire

Re: '76 Wagon Rebuild Adventure

Post by Lumpskie »

^Cool rig with nice features. I look forward to seeing your progress!
1989 Grand Wagoneer - Rebuilt 360, 2" Alcans, 10" travel Gabriel Guadian shocks.
1996 Land Cruiser - 1HD-T Diesel, Gturbo (23psi), Wholesale Automatics 442f, F/R ARBs, 35" Duratracs, ARB Rear Bumper, OME 2" lift, home built sliders and aluminum belly skid
2000 Honda Civic - Integra GSR engine, transmission, shift linkage and axles, 200hp, 33 combined mpg
2006 Mitsubishi Lancer Evolution 9 - 437hp/447ft-lb

Topic author
rherndon
Posts: 142
Joined: Mon Aug 11, 2014 5:25 pm
Location: Houston, TX

Re: '76 Wagon Rebuild Adventure

Post by rherndon »

Seat Belts.... A nightmare. I did some damage removing these. Should have heated these torx bolts with a torch, before I stripped a coupe of them..... I now have a hole in rear wheel well and a ruined front 3-point assembly. I have procured replacements from salvage yards. Hard to find in good condition. Not cheap. Be careful removing these. Take your time. Have the right tools.

Image

Image

Can anyone tell what color carpet this will match to? I received the nutmeg sample today and I don't think that is it. Too orange.

rubber mat under carpet in trunk area....
Image

Below rubber mat.....looking good so far. Some rust in corners of rear floor near each quarter panel. Quarters are getting cut out and replaced with CA donors, so not a bad spot to find the only real rust thus far.

Image

Here is a pic of the inner roof. I cannot tell if this is rust or some adhesive residue. Nothing flakes off. I will cover this with Rust Bullet, Miracle Paint, or something of the sort, before insulating and putting headliner back in. This will happen after body work.

Image

Rusted rear corner
Image

Next I tackle rest of interior trim, door panels, windows and regulators, and then exterior trim, bumpers, quarter windows, wood grain removal, and on....

More pics tomorrow. But, fast forward, and I did get the vehicle to Scroggins machine shop yesterday. They pulled the engine and already disassembled. I went today to check it out. Looked pretty good. Bearings were nearly gone, otherwise very clean. Tommy is certain that the engine only had a true ~ 57k as the odometer shows. Feeling good. The vehicle was delivered this afternoon to the body shop.
'76 Wagoneer w/401; Restoration in progress

SJTD
Posts: 1931
Joined: Tue May 21, 2013 12:02 pm
Location: Lompoc, Sunland or somewhere between

Re: '76 Wagon Rebuild Adventure

Post by SJTD »

rherndon wrote:
Image
I like that mat. Hafta start looking for one. '84 had strips of MDF (fancy name for thick cardboard) under the carpet.

Any idea what years had it?
Sic friatur crustulum

'84 GW with Nissan SD33T, early Chev NV4500, 300, narrowed Ford reverse 44, narrowed Ford 60, SOA/reversed shackle in fornt, lowered mount/flipped shackle in rear.
User avatar

Tatsadasayago
Posts: 3684
Joined: Thu Aug 28, 2014 2:22 pm
Location: Sacramento, CA

Re: '76 Wagon Rebuild Adventure

Post by Tatsadasayago »

That mat makes a huge difference being under the carpet should you ever have to sleep in it! I found them in the later models with the limited and other foofoo packages.
1977 Cherokee Chief - The Blair Jeep Project III
A collection of parts flying in close formation

Topic author
rherndon
Posts: 142
Joined: Mon Aug 11, 2014 5:25 pm
Location: Houston, TX

Re: '76 Wagon Rebuild Adventure

Post by rherndon »

SJTD wrote:
rherndon wrote:
Image
I like that mat. Hafta start looking for one. '84 had strips of MDF (fancy name for thick cardboard) under the carpet.

Any idea what years had it?

Not certain on the years. ~ 81 seems to be a year of significant change in model years. I would think you could find one through a salvage yard. Also, post the pic on the Wanted forum. I bet you will get a response.

I think I will probably go back with the rubber mat. I can't imagine that sound deadeners would provide a significant improvement over the mat + mass backed carpet. But, If I don't go back with the mat, I will let you know. Does your '84 have the same grooves in the rear floor board? I think it does. Just make sure b/c the mat was made to fit in the grooves as shown in my pic.

Good luck,
Rogers
'76 Wagoneer w/401; Restoration in progress

Topic author
rherndon
Posts: 142
Joined: Mon Aug 11, 2014 5:25 pm
Location: Houston, TX

Re: '76 Wagon Rebuild Adventure

Post by rherndon »

I wanted to show a few pics of engine in the process of initial cleaning (yesterday, 10/21/14).

Image

Image

Image

Image
'76 Wagoneer w/401; Restoration in progress
User avatar

bbuenger71
Posts: 217
Joined: Thu Oct 09, 2014 4:28 pm
Location: Simi Valley, CA

Re: '76 Wagon Rebuild Adventure

Post by bbuenger71 »

rherndon wrote: The Sunbrella Latte fabric - looks close enough to me....and kid friendly.
Image
I really like that fabric. Ive been checking Sunbrella out as well. I might go with the "Holmes Cocoa". Interested to see how it turns out. I'm also at the beginning stages of fixing up a 76 Wag.
1976 Wagoneer
360/TH400/QT
Edelbrock non EGR, Holley 600cfm, 32" BFG Mud Terrain KM2's. Lots of Bondo.
http://fsjnetwork.com/forum/viewtopic.php?f=12&t=7276

Topic author
rherndon
Posts: 142
Joined: Mon Aug 11, 2014 5:25 pm
Location: Houston, TX

Re: '76 Wagon Rebuild Adventure

Post by rherndon »

bbuenger71 wrote:
rherndon wrote: The Sunbrella Latte fabric - looks close enough to me....and kid friendly.
Image
I really like that fabric. Ive been checking Sunbrella out as well. I might go with the "Holmes Cocoa". Interested to see how it turns out. I'm also at the beginning stages of fixing up a 76 Wag.
Wow, Your wag looks like a twin cousin to mine.... I stopped by a Fabric outlet and looked at the Sunbrella Latte. It was not quite as nice of a match as I had hoped. I took away a lot of ideas but need to make a decision soon. I want to get the seats out to upholstery shop. I saw the Cocoa and it looked better. I will update when I make more progress.
'76 Wagoneer w/401; Restoration in progress
User avatar

bbuenger71
Posts: 217
Joined: Thu Oct 09, 2014 4:28 pm
Location: Simi Valley, CA

Re: '76 Wagon Rebuild Adventure

Post by bbuenger71 »

rherndon wrote: Wow, Your wag looks like a twin cousin to mine.... I stopped by a Fabric outlet and looked at the Sunbrella Latte. It was not quite as nice of a match as I had hoped. I took away a lot of ideas but need to make a decision soon. I want to get the seats out to upholstery shop. I saw the Cocoa and it looked better. I will update when I make more progress.
I wash thinking the same. They are pretty similar. I will be posting more pictures of it when I get it home. It's sitting up in Oregon at the moment. I have not seen the fabric in person, just browsed online. below is my original interior fabric. Kinda cool and funky but I don't think i'll be keep in.

Image
1976 Wagoneer
360/TH400/QT
Edelbrock non EGR, Holley 600cfm, 32" BFG Mud Terrain KM2's. Lots of Bondo.
http://fsjnetwork.com/forum/viewtopic.php?f=12&t=7276

Topic author
rherndon
Posts: 142
Joined: Mon Aug 11, 2014 5:25 pm
Location: Houston, TX

Re: '76 Wagon Rebuild Adventure

Post by rherndon »

more pics from the strip down process:

Driver mirror looks ok...
Image

Passenger mirror is pitted. I will work on it but may need to find a replacement.
Image

Window lifters were pretty rusted.... But I soaked them in a solution and they cleaned up nicely. Those pics later.
Image

These 2 screws on rear door were a bear... I had to loosen them with the torch and they came right out.
Image

There were a couple of rivets holding stainless trim pieces together. One at front hood and this one at rear, holding the tailgate glass trim. A small bit drill did the work. Drill it out and then pry it off.
Image

The rest of the trim pieces came off fairly easy. There were 4 types of clips I encountered:

These are standard and accounted for about 60%. About half broke but replacements are available. Restoration Specialties I think...
Image

These were in spots where you could access the back side and remove the nut - inside door panels and rear quarters....
Image

These were only located around rear tailgate trim that runs from tailgate around the top and back down. I think I lost one. Should be ok...
Image

These were used for chrome around the quarter glass....
Image
'76 Wagoneer w/401; Restoration in progress

Topic author
rherndon
Posts: 142
Joined: Mon Aug 11, 2014 5:25 pm
Location: Houston, TX

Re: '76 Wagon Rebuild Adventure

Post by rherndon »

Emblems came off pretty easy. Not sure how best to reapply (what type of adhesive) but I have time to figure that out.

Image
'76 Wagoneer w/401; Restoration in progress
User avatar

Tatsadasayago
Posts: 3684
Joined: Thu Aug 28, 2014 2:22 pm
Location: Sacramento, CA

Re: '76 Wagon Rebuild Adventure

Post by Tatsadasayago »

rherndon wrote:Emblems came off pretty easy. Not sure how best to reapply (what type of adhesive) but I have time to figure that out.

Image
There are several good adhesive tapes out there but this one is probably the easiest to find at a typical McParts Store:

Image

You can cut a length down the center and apply it across the back-center of your emblem...or if you are a detail freak like me, place the emblem on top of the backing tape and stencil the outer edges of the emblem then cut -1/16" or so smaller. I found keeping the tape the same size as the emblem keeps dirt, mud etc from collecting behind it.
1977 Cherokee Chief - The Blair Jeep Project III
A collection of parts flying in close formation

Topic author
rherndon
Posts: 142
Joined: Mon Aug 11, 2014 5:25 pm
Location: Houston, TX

Re: '76 Wagon Rebuild Adventure

Post by rherndon »

brush guard with original KC fog lamps. Not sure if this will go back on.

Image

Image
'76 Wagoneer w/401; Restoration in progress

Topic author
rherndon
Posts: 142
Joined: Mon Aug 11, 2014 5:25 pm
Location: Houston, TX

Re: '76 Wagon Rebuild Adventure

Post by rherndon »

Tatsadasayago wrote:
rherndon wrote:Emblems came off pretty easy. Not sure how best to reapply (what type of adhesive) but I have time to figure that out.

Image
There are several good adhesive tapes out there but this one is probably the easiest to find at a typical McParts Store:

Image

You can cut a length down the center and apply it across the back-center of your emblem...or if you are a detail freak like me, place the emblem on top of the backing tape and stencil the outer edges of the emblem then cut -1/16" or so smaller. I found keeping the tape the same size as the emblem keeps dirt, mud etc from collecting behind it.
Good advice....I will take the stencil route for sure...
'76 Wagoneer w/401; Restoration in progress

Topic author
rherndon
Posts: 142
Joined: Mon Aug 11, 2014 5:25 pm
Location: Houston, TX

Re: '76 Wagon Rebuild Adventure

Post by rherndon »

Yesterday I started to go back through all of the trim to clean and determine if there are any pieces that need repair or replacing.

Image

The one piece that had the most rust was the rear cross-bar from the roof rack. It was tough surface rust but no apparent pitting. I had researched products that could be effective for this type of situation and came across Quick-Glo. Quick Glo is made in Baton Rouge, LA. I called the owner, Brent DeLoach, to understand the product better. Well, it is a paste that is used in very small amounts. It has a grit to it that breaks down during the rubbing/polishing. It also has a wax but does not need buffing.

Image

Finished...this took less than 10 minutes.
Image

There were still some rough spots on the top from what looks like general use over the years.

Very pleased with Quick-Glo. And it is made in the USA....

http://www.quick-glo.com
Last edited by rherndon on Mon Oct 27, 2014 7:27 am, edited 1 time in total.
'76 Wagoneer w/401; Restoration in progress
User avatar

jaber
Vendor
Posts: 3066
Joined: Sat Aug 27, 2011 5:24 pm
Location: Chino Valley, Az.

Re: '76 Wagon Rebuild Adventure

Post by jaber »

Link dont work???
Jeff

'46 cj3a
'51 Willys p/u
'51 Willys Parkway Conversion
'74 CJ5
'75 J-20 Wrecker
'75 J-20 Cummins service truck
'77 J-10 p/u
'79 Cherokee
'88 Grand Wagoneer
http://s252.photobucket.com/albums/hh14/jeffaber/

Topic author
rherndon
Posts: 142
Joined: Mon Aug 11, 2014 5:25 pm
Location: Houston, TX

Re: '76 Wagon Rebuild Adventure

Post by rherndon »

jaber wrote:Link dont work???

:-? Sorry, I typed it in wrong. Try http://www.quick-glo.com
'76 Wagoneer w/401; Restoration in progress

Topic author
rherndon
Posts: 142
Joined: Mon Aug 11, 2014 5:25 pm
Location: Houston, TX

Re: '76 Wagon Rebuild Adventure

Post by rherndon »

woodgrain vinyl removal.....

This is probably worth a thread on its own. This was one of the toughest parts of the strip down. I read up on how to remove woodgrain vinyl sticker from the 70's models. I ended up buying some krud cutter, a plastic putty knife, a Dewalt heat gun, as all as 2 eraser wheels that fit into a standard drill. I paid a little extra for the heat gun to get the digital temp display. This ended up being worth it as I could "dial in" to 750 degrees for a consistent process.

The first panel took about 2 hours to remove. It is very tedious. The challenge is to work a strip off without breaking off and then starting again. Here are some pics.

Image

Don't use a metal paint scraper like the one shown in this pic - leaves scratches. A good firm plastic scraper is better.
Image

Image


And this was my last panel. I got the whole thing off in one piece!!! A crowning achievement. And my wife thinks this will be the one and only FSJ project I ever tackle. No way. Just when it was over I finally figured it out. It would be a waste not to carry this experience and "talent" forward to even greater rewards! :D

Image
'76 Wagoneer w/401; Restoration in progress
Post Reply