With the bummer that today was with the mothership leaving us behind like sad little E.T's i thought I would post this to give something else to think about...
If there is any interest I could start with the basics and we could move up to making whatever ideas people come up with...
I could do it in picture format like below, and I suppose that it could be done in you tube links as well. The first few would be much simpler than this one with a few devoted to the simple science of moving metal with the hammer and anvil...
Anyway, I had some down time at a horse show today because of a really long rain delay and thought I would work on a project that had been suggested to me by a friends wife.
If you like this stuff and want more project postings I will be happy to do it. Today I had to use my phone for pics, but I will get my apprentice to take them next time with the good camera...
Please let me know what your feelings are about this...Its not FSJ specifc but I could try to work on pieces releated to FSJ's in the future...
The requested project was two horseshoes that came together to form a heart.. I thought that was a cool idea but decided to do it a little differently than just lapping two horseshoes over one another.
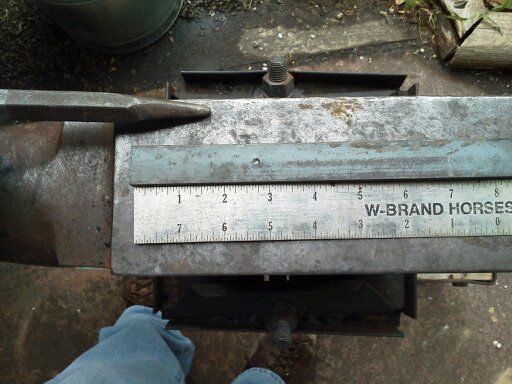
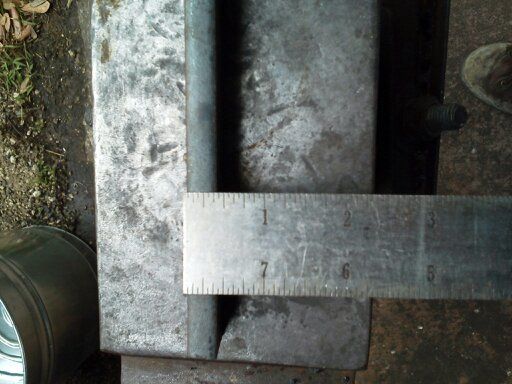
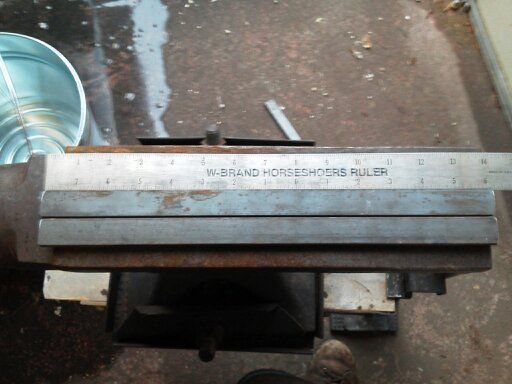
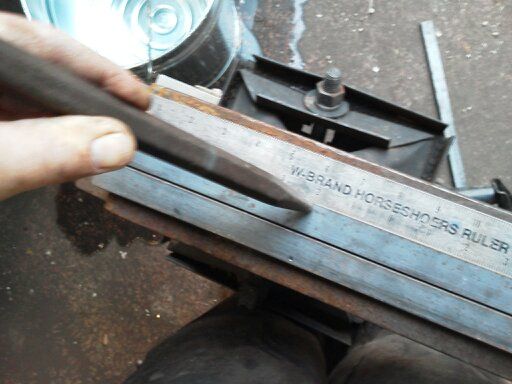
Started with 2 even pieces of staright bar stock 14"long x 3/8"thickx 7/8"wide
Next I marked reference points on each so i could begin my turning process in the same place on each side piece of steel. Hopefully setting me up to have a symetrical heart.
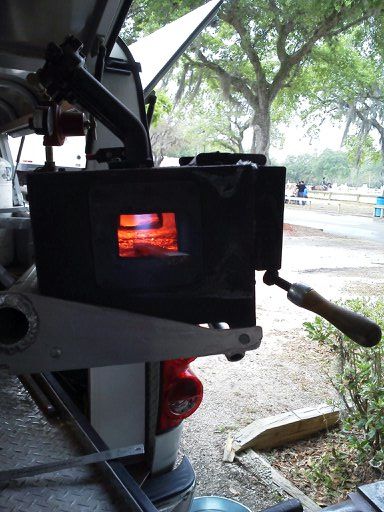
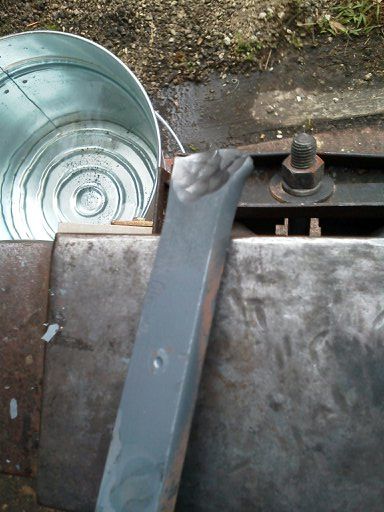
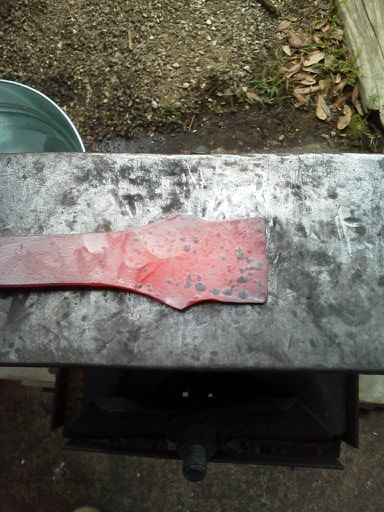
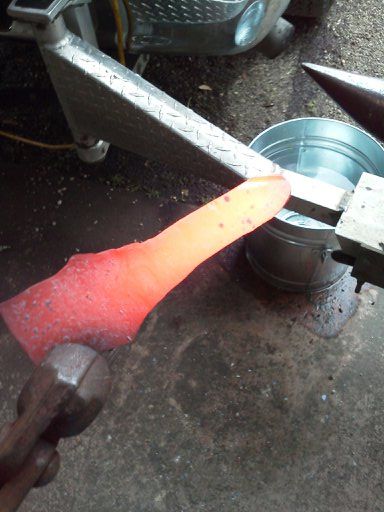
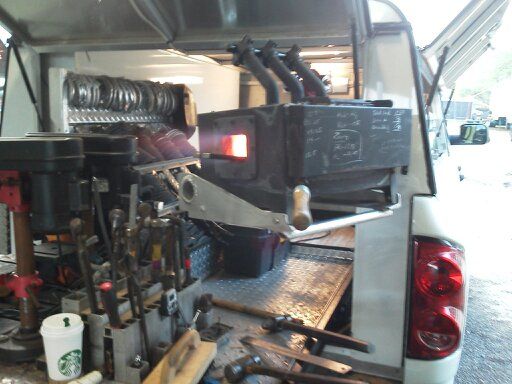
Then the steel is put in the forge , careful to only heat the side that you want to work on...this prevents movement that your dont want somewhere else.
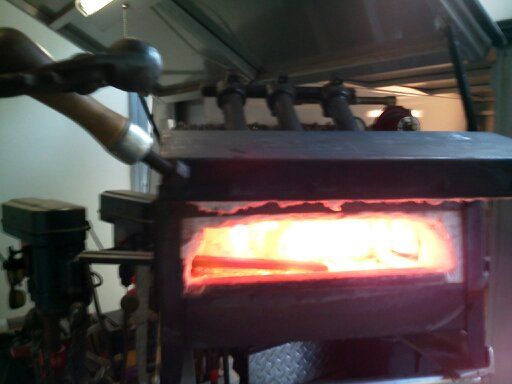
its hot!
Notice that only the part of the shoe im going to work is red hot.
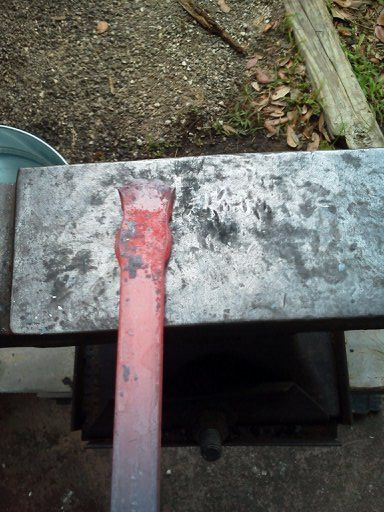
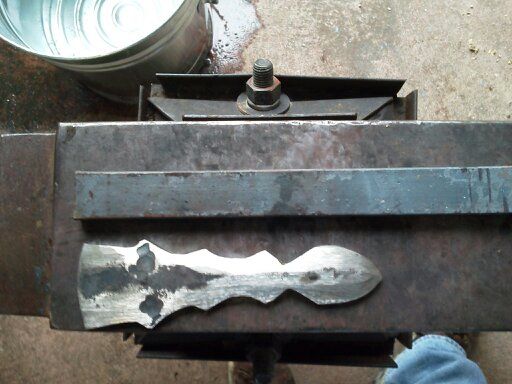
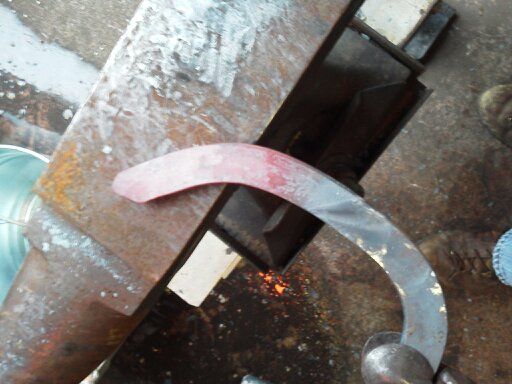
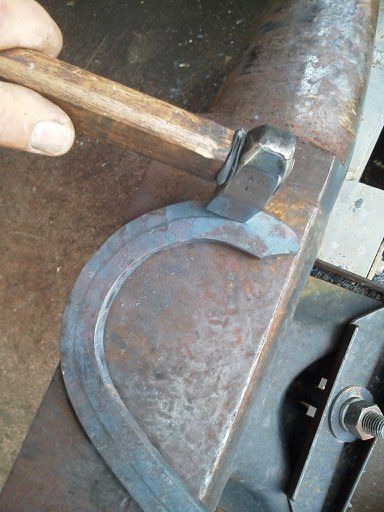
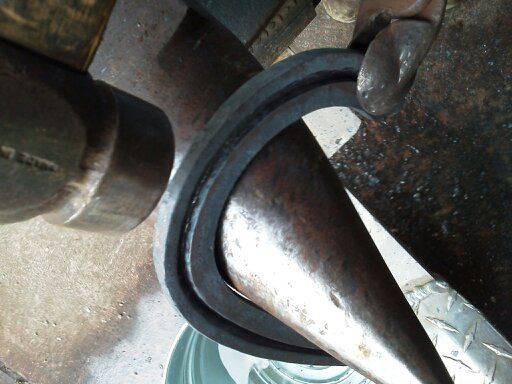
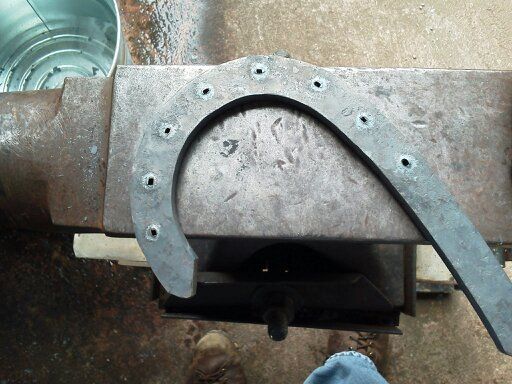
To begin the turn you strike into the steel creating a "U" this is also called "breaking the back" If you go directly to the horn to set your radious the steel will buck and you wont be able to turn it with a fluid radious.
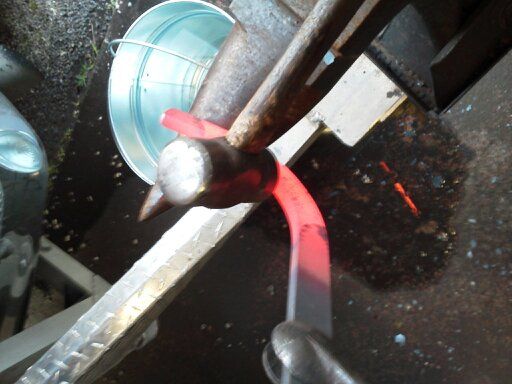
now you can set the radious with the horn. take note of where you set it so you can use the same radious on the second piece. notice the mark/dot is right in the turns origin and pressed up against the horn to hold the radius.
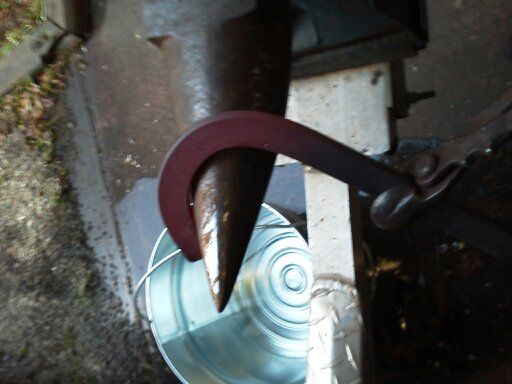
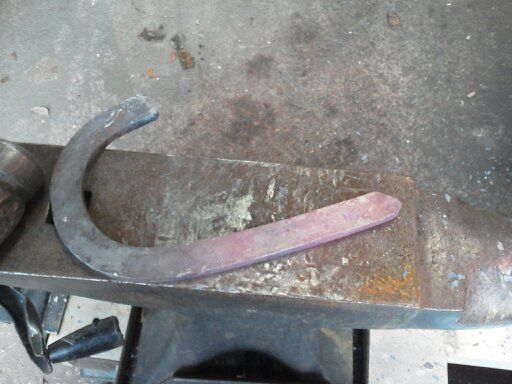
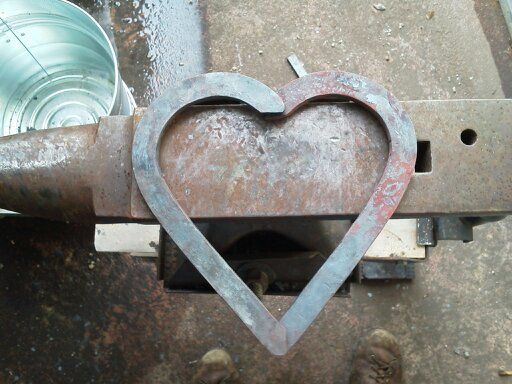
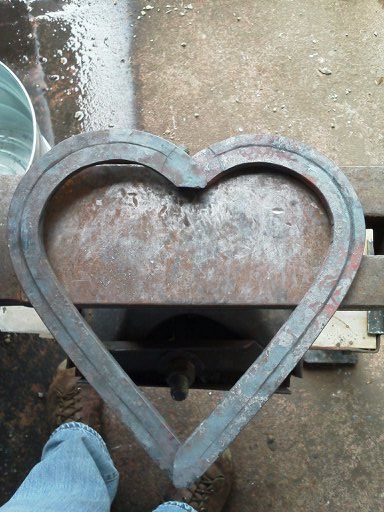
I turned both sides and checked for symetry, them i layed them like I was visualizing the design to be and fine tuned the radious to get the shape i wanted.
Now we have the start of a heart.. but his isnt enough detail to call it done yet.
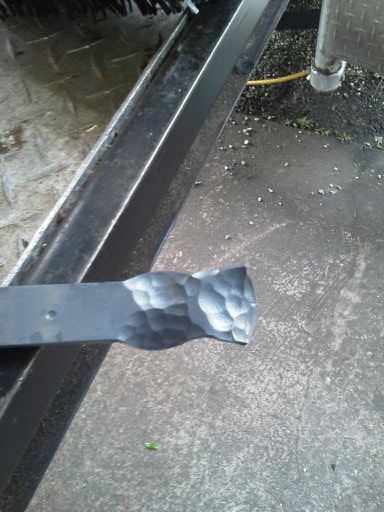
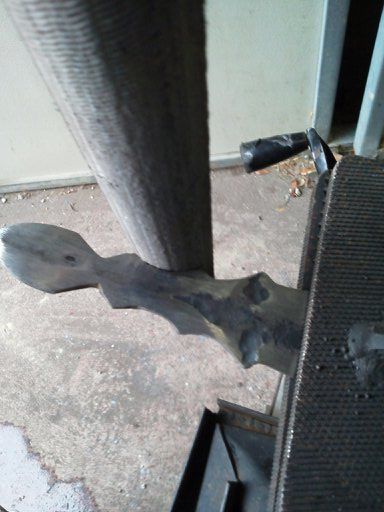
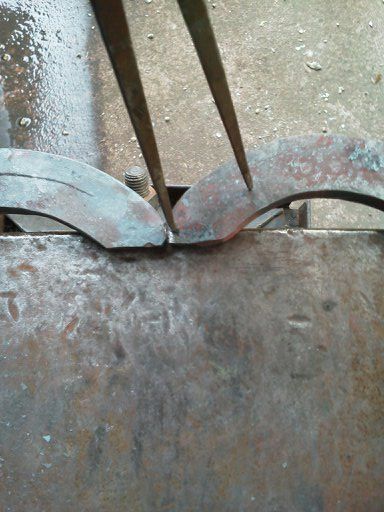
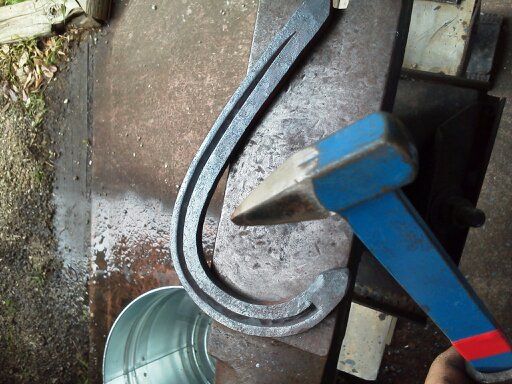
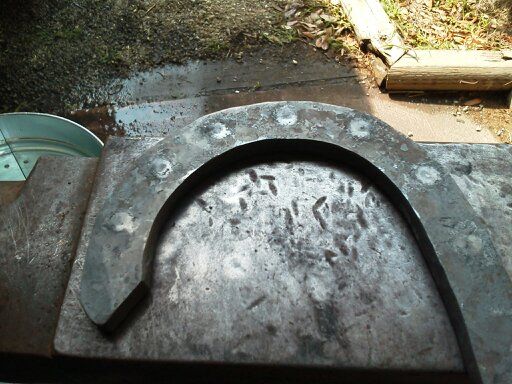
Horse shoes have heels forged into them. Even though this will obviously not be going on a horse I wanted it to have the same landmarks as a horseshoe. so I forged heels into all four edges.
Heels are formed by driving the hammer into the edge of the shoe. Not drawing it away. Those are two different hammer strokes. I could get more specific about in a different demonstarion. Basicly driving is packing of material into itself and drawing is pulling material away from itself.
Notice in the above picture that the packing has upset my straight branch so I need to straighten it back out before I continue
After finishing all four heels I have to recheck the two pieces and reheat to make adjustments. these were forged at two different heat levels which is why one moved further than the other.
Not gonna pass a skills test for identical but pretty close...
recheck for design
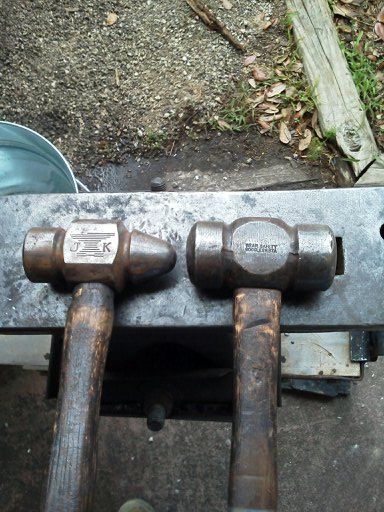
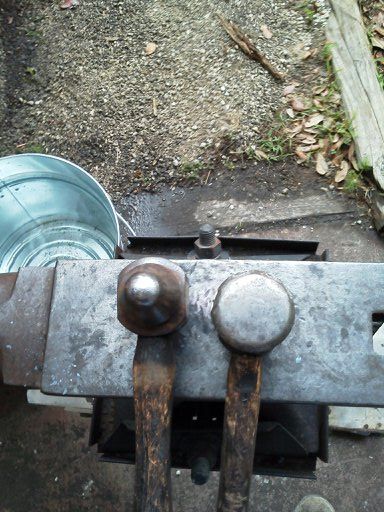
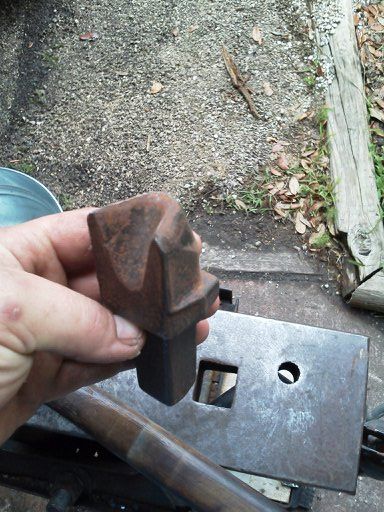
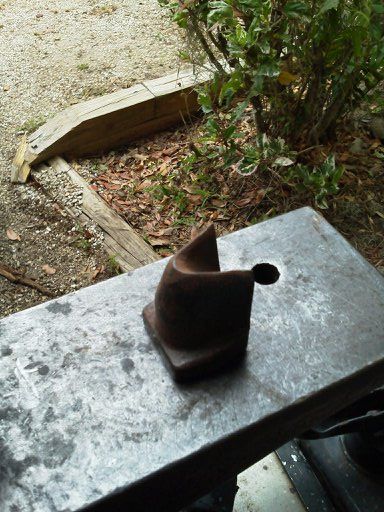
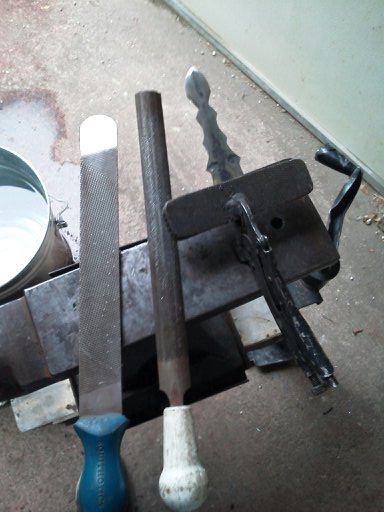
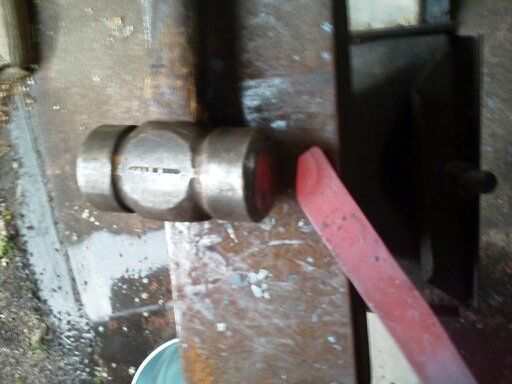
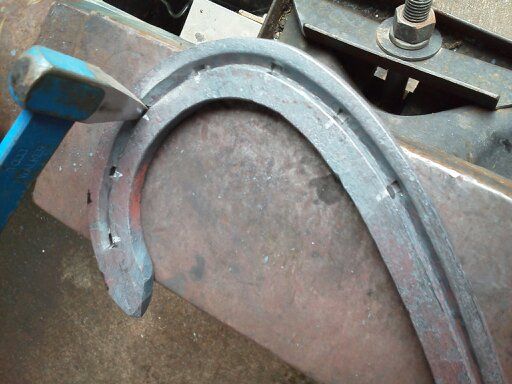
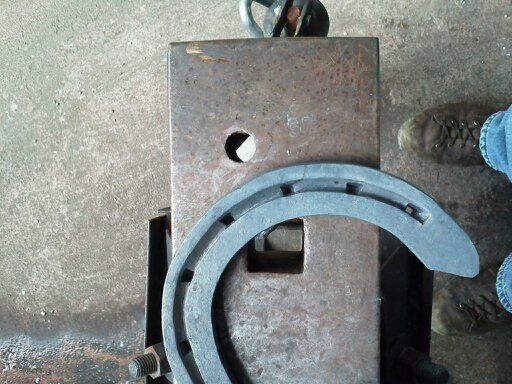
if happy move on to the fuller. The fuller is a tool that lays the creases you find in most horse shoes. Its used to make a groove that the nail head can rest insdie and also provided and ridge for traction. this is a fuller
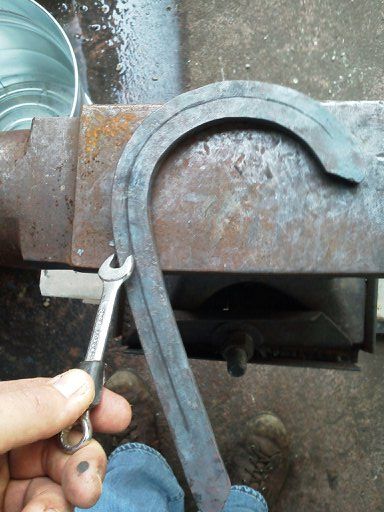
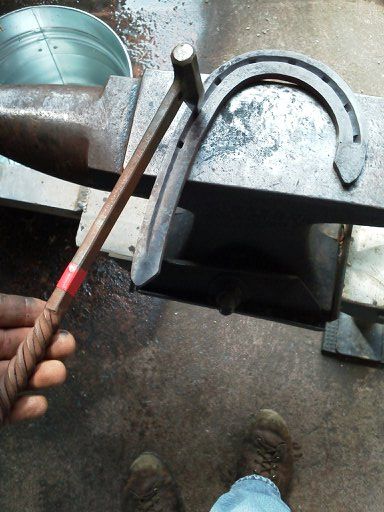
before you go thumping on it you need to map out some references to follow. I use the calipers and a wrench to score out the path i want to run and the start and end locations. the wrench is a cool trick because you can lock one side on the side of the shoe and the other side can drag the top. the bigger the wrench th further in your mark will be...
then you mark the steel lightly to set a groove to follow once you get the steel hot nd your mark dissapears.
check your layout again and make sure the lines are what you want because once you start running you cant go back
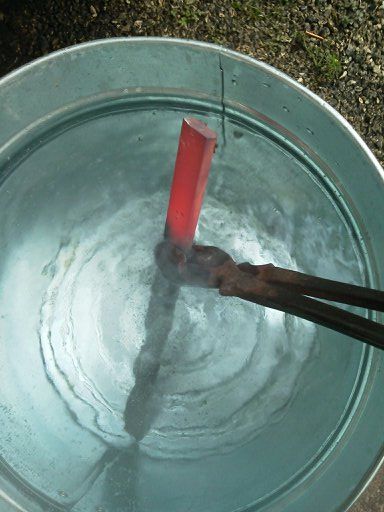
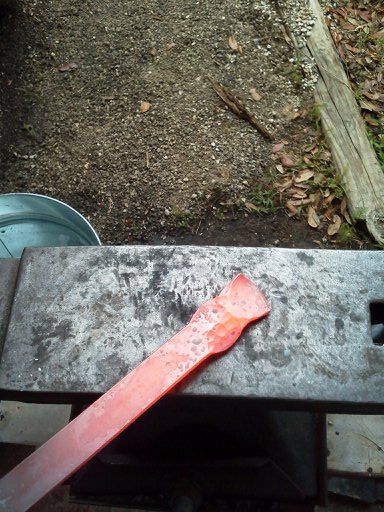
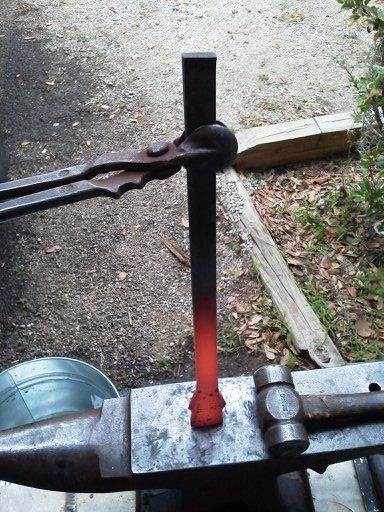
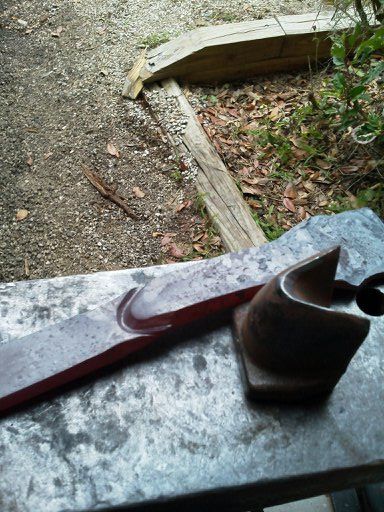
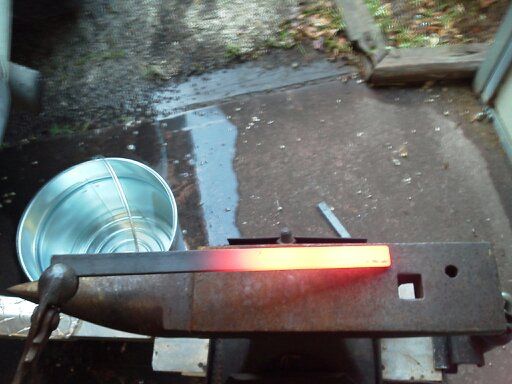
you want an orange heat to run you fuller in. To hot and you'll cut through the steel...
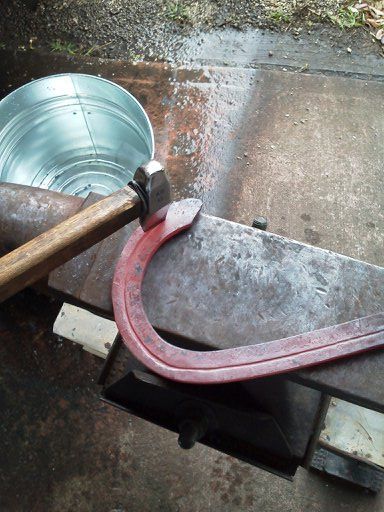

Exmple of forgeing heat and black heat
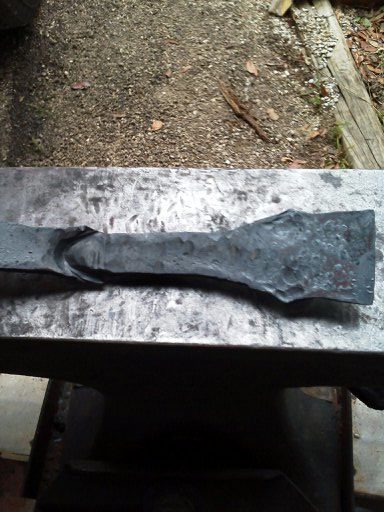
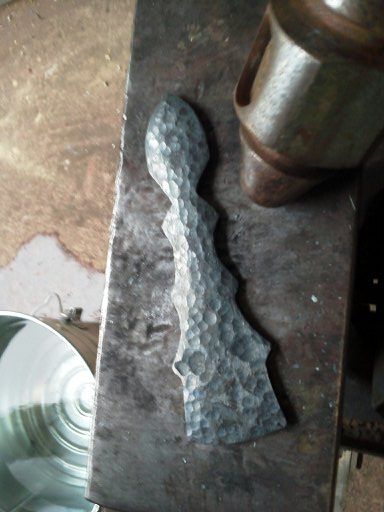
running the fuller is something that you develop a feel for and you can actually get it finished in two or three passes. I was taking pictures so i had to run over it several times
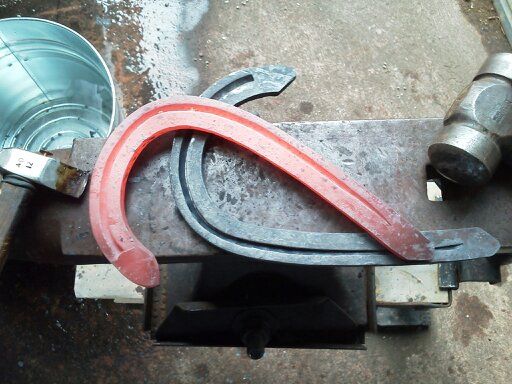
check your design again. I didnt like that one side stoped short at the bottm so I will fix that later
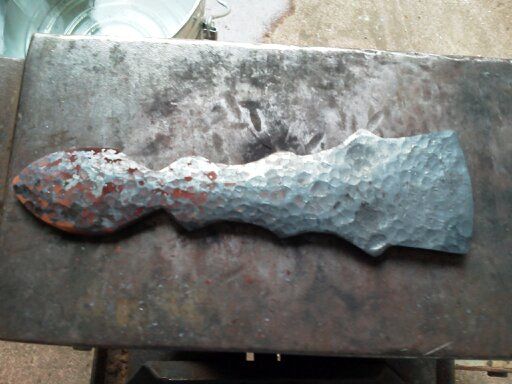
after you fuller you have "displaced" metal so you need to hemm your branches to push it all back together. you do that at a black heat and walk the radious of the horn with your hammer.
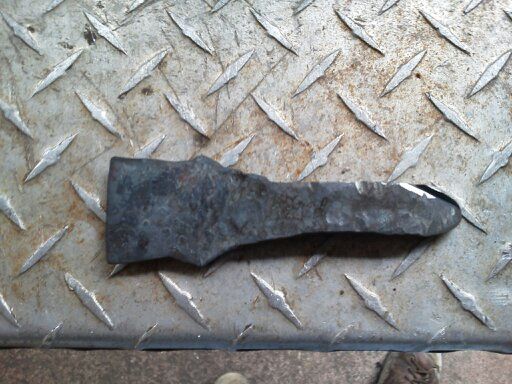
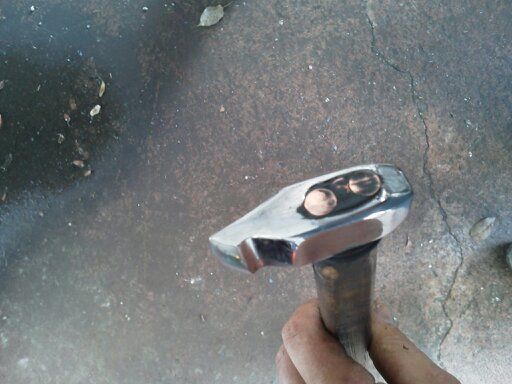
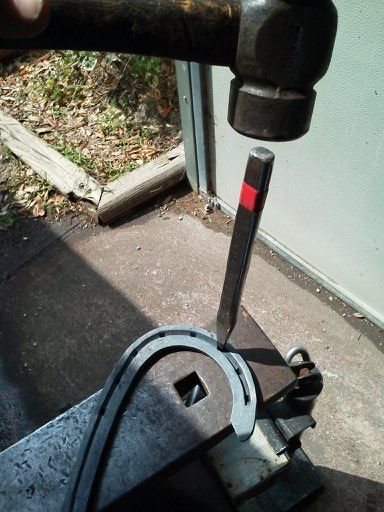
Next you need to punch the nail holes. This is done with a fore punch, a drift punch, and a pritchel...
forepunch:
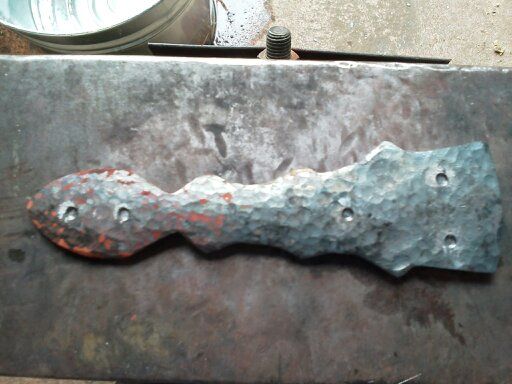
use the calipers again to establish a uniform distance between holes and mark out the locations lightly
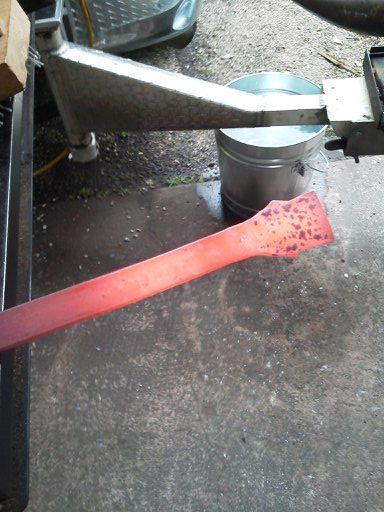
mark both out and throw them in the fire. You want a barely yellow heat for this next step.
getting close!
You run the drift punch to "drift the hole into the tapper of your pritchel. All of you stamping tools are "tuned" together the fuller and the forepuch are the same size, the drift is the same size as the bottom half of the fore punch head and the pritchel is the size of the tip of the fore punch. This allows you to blend the nail hole to match the contour of the nails head for a seamles fit.
finally you pritchel, you will know you are ready to pritchel when you flip your shoe over and see your "frog eyes" developed
you pritchel at a very low heat. you want a clean shear through the nail hole and if its to hot is tears away instead.
you would nornally have one hand on the pritchel but i had to hold the camera
Flip the shoe and clean up the trash
re-run your fuller to unify the sight line
Do any final shape adjustments and then put the shoes in the fire. You want them to get fairly hot so you can flatten and brush them.
Flattening is literally overlapping hammer blows that level and equal out the shoes thickness.. (you forgot there were 3 deminsions to worry about....) not as easy to maintain as you think...
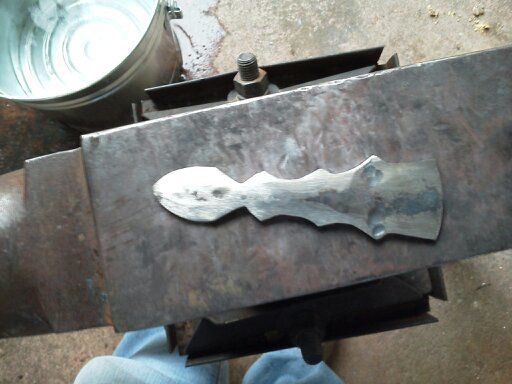
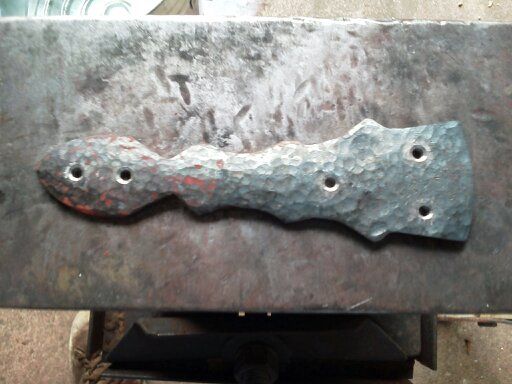
then you block brush, and more block brush and more block brus untill you have removed all the slag and scale
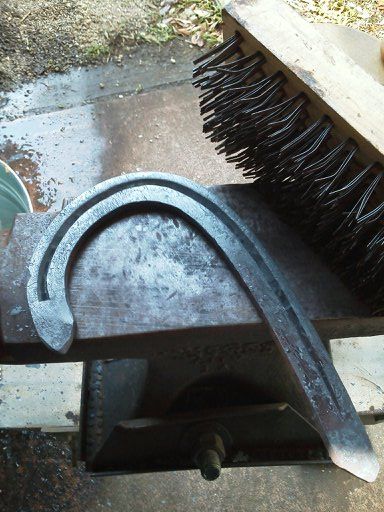
So the final result has been brushed and oiled with hoof packing. Its an oil based material that you use to treat different issues within a sore foot but at the right temp the oils will soak into the warm pours of the metal and give a great finish.
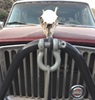
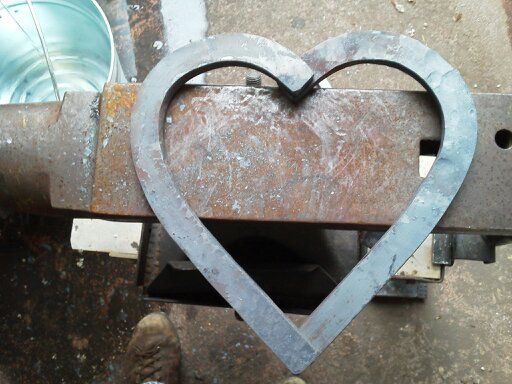
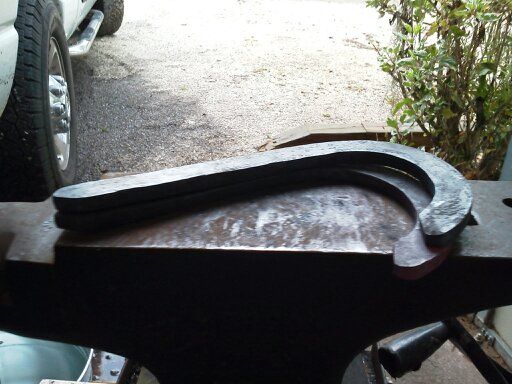
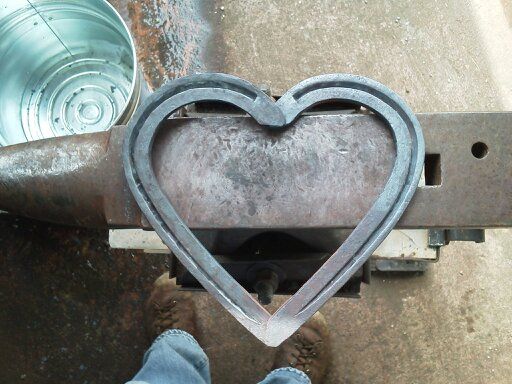
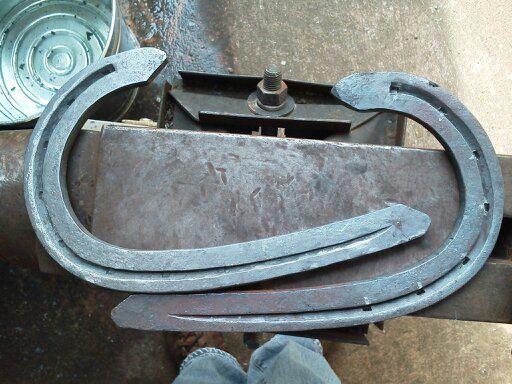
Here is the end results. I liked three different designs and all you have to do is pic you fav and spot weld the back to hold it together
#1 as designed

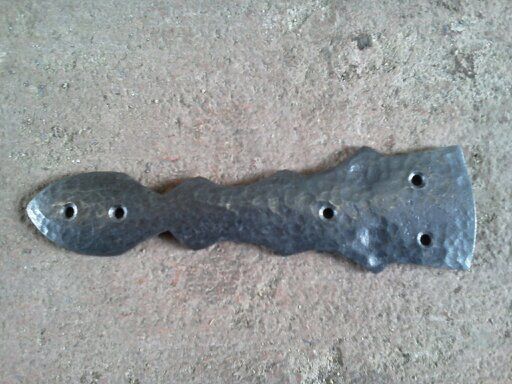
#2 slight overlap and different heels
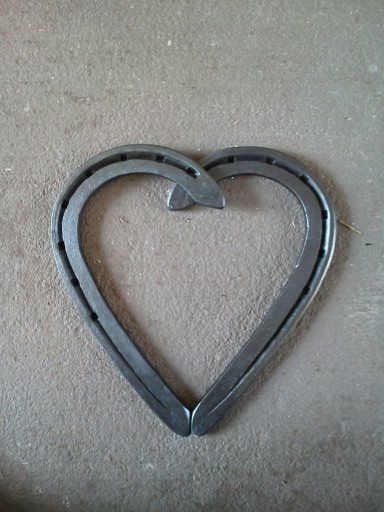
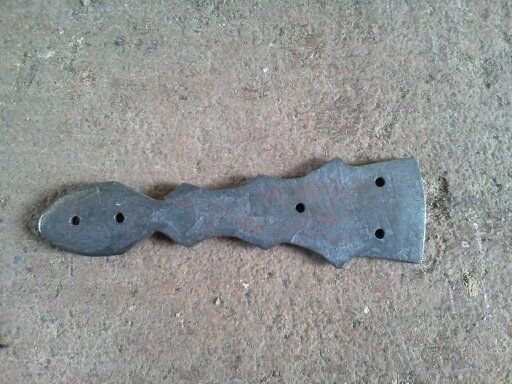
#3 my favorite, with the heads of the nails cut to fit in the heart
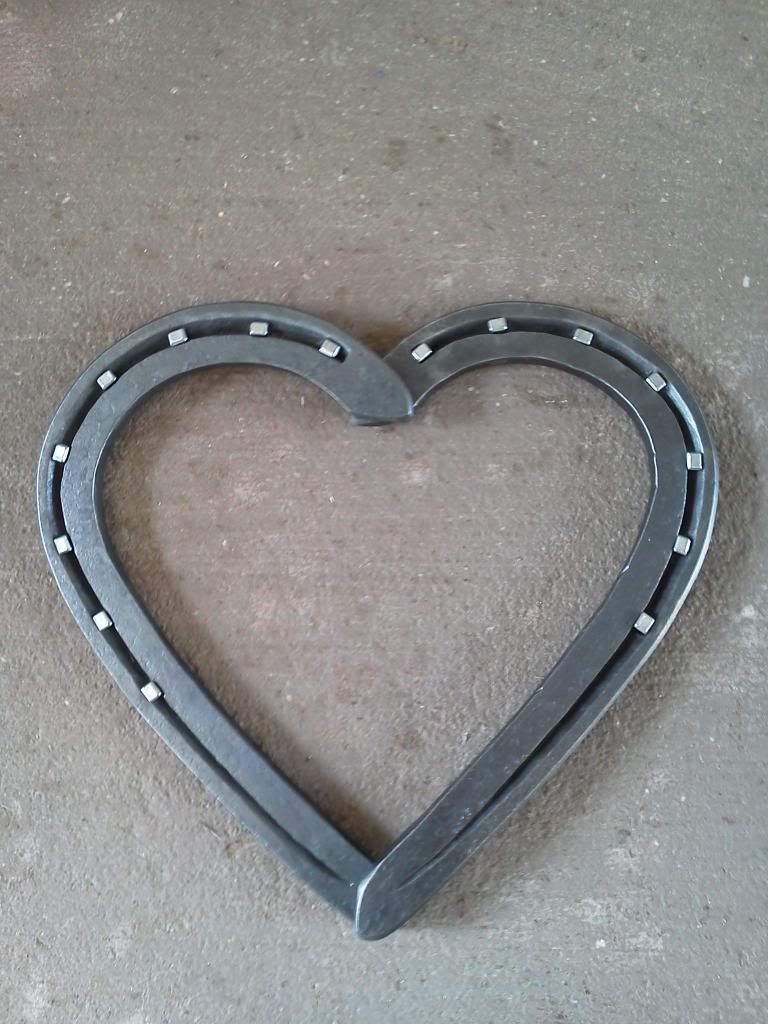
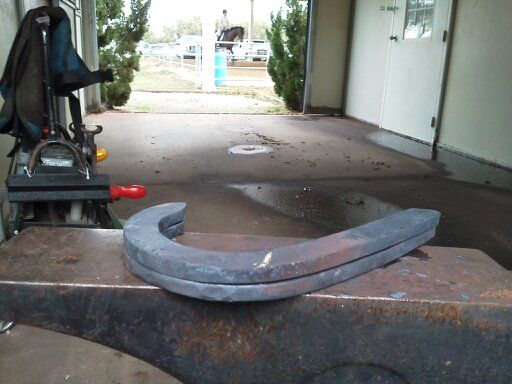
So... truned out pretty cool, would make a nice picture frame if you got a piece of glass cut or cool just like that.
If you thought this was fun and not a terrible waste of your time let me know and ill find something else to make with different techniques involved.
Thanks
JP